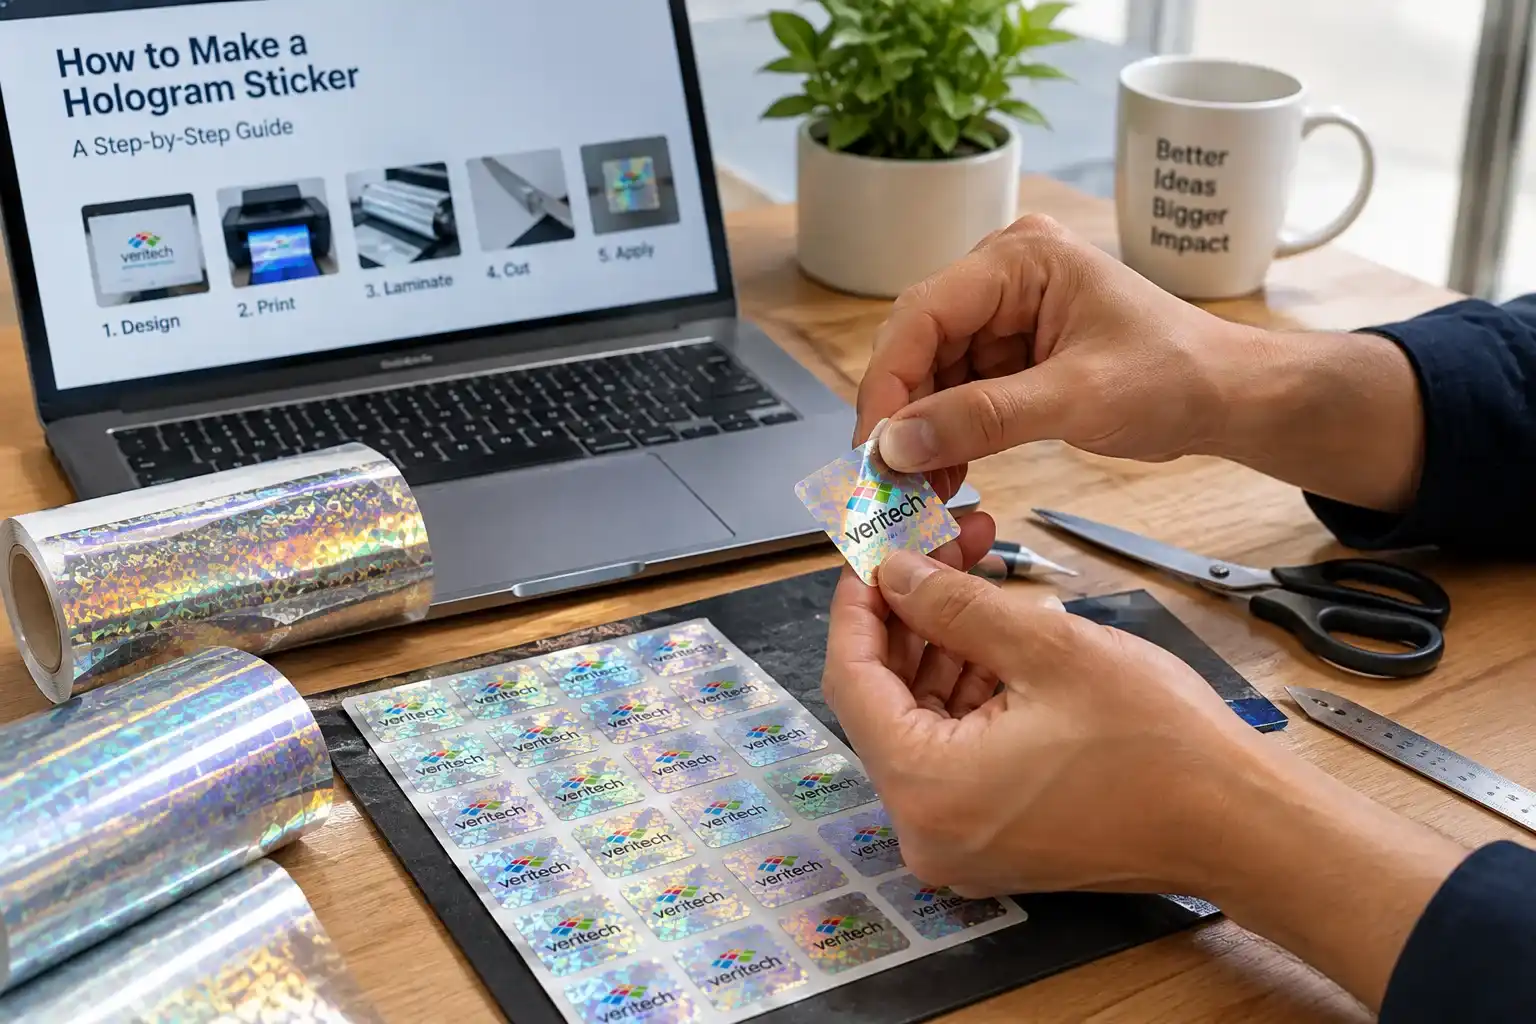
To make a hologram sticker, you first turn your artwork into a master hologram. That master is copied onto a nickel shim, the shim presses the pattern into thin plastic film, and the film is then metallized, printed, glued and die-cut into the stickers you see on a pack.
That's the quick version. But there's a catch most guides skip. People use "hologram sticker" for two completely different things. One is the rainbow craft sticker you can print on your desk. The other is a security label a pharma company puts on a medicine carton, so a chemist (and you) can tell it's the real thing.
To make a hologram sticker, you first turn your artwork into a master hologram. That master is copied onto a nickel shim, the shim presses the pattern into thin plastic film, and the film is then metallized, printed, glued and die-cut into the stickers you see on a pack.
That’s the quick version. But there’s a catch most guides skip. People use “hologram sticker” for two completely different things. One is the rainbow craft sticker you can print on your desk. The other is a security label a pharma company puts on a medicine carton, so a chemist (and you) can tell it’s the real thing.
This guide on how to make a hologram sticker is about the second one. We’ll walk through each production step, what to decide before you talk to a supplier, what really drives the price, and a few mistakes we keep seeing brands make.
Hologram Sticker or Holographic Sticker: Know What You Are Making
Google this topic and you’ll mostly find tutorials on printing designs onto rainbow vinyl. Nothing wrong with that. It just gives you a holographic sticker, where the shine comes from the sheet you bought, not from anything in your design.
A real hologram sticker works differently. Your logo or text is stored as tiny grooves, far thinner than a hair, that bend light in a fixed way. Tilt the label and the image shifts, flips or changes colour. And that effect belongs to you alone.
It’s also why brands trust them. The EU Intellectual Property Office notes that colour printers, scanners and cameras can’t reproduce a hologram. There’s no ink layer to copy, so a photocopy simply comes out flat. A quick way to decide which one you need:
- Making it for decoration? A laptop, a gift box, a college fest. Holographic vinyl will do the job.
- Making it to prove a product is genuine? Then you need a secure hologram made in a controlled, high-security plant.
Settle These Five Points Before Production
Honestly, most hologram projects get stuck at the brief stage, not on the machine. Sort these out early and the rest gets a lot easier.
- Purpose: brand protection, tamper evidence, a regulatory label, or just looks?
- Size and spot: where it goes on the pack, and how much room you really have there.
- Security level: only visible effects, or hidden ones that need a lens or scanner to check.
- Surface: a carton behaves nothing like glass, a PET bottle or a curved cap, and each needs its own adhesive.
- Volume: one batch, or a steady monthly supply with serial numbers.
Write it down (one page is plenty) and send it to your manufacturer. A good one will tell you when something doesn’t add up. A 15 mm label loaded with six security features, for example, is a label nobody will ever read, so nobody checks it.
How to Make a Hologram Sticker in 8 Steps
Here’s the whole journey in one view. We’ll unpack each step right after.
- Prepare the artwork for holography
- Originate the master hologram
- Grow the nickel shim
- Emboss the pattern into film
- Metallize or add an HRI layer
- Print and add security layers
- Apply adhesive and liner
- Die-cut, inspect and pack
Step 1: Prepare the artwork for holography
You can’t just send a print-ready PDF and expect a hologram back. The design gets broken into layers, and each layer is given its own effect. Maybe a background that ripples, a logo that switches colour, or a small 3D element that seems to float. This is also when microtext and fine guilloche lines go in. Try adding them later and you’re back to square one.
Step 2: Originate the master hologram
Origination is where your first real hologram is born. Years ago, studios shot masters using lasers and physical models. Now most security holograms come from dot-matrix or direct-write machines that draw the pattern onto a photoresist plate, sometimes with e-beam lithography for the tiniest details. The more effects you layer in here, the harder life gets for a counterfeiter.
Step 3: Grow the nickel shim
A master is far too fragile to put on a machine. So it gets a thin silver coat and goes into an electroforming tank, where nickel slowly builds up on its surface. Peel that off and you have the mother shim. From it, the plant grows daughter shims, which do the actual work. That’s how one design can produce millions of stickers while the original stays safely locked away.
Step 4: Emboss the pattern into film
Now a daughter shim is fitted onto a heated cylinder. Clear polyester film (usually PET, somewhere between 12 and 25 microns thick) feeds under it with heat and pressure. The grooves get pressed into the film, and for the first time, your hologram is sitting on a production roll.
Step 5: Metallize or add an HRI layer
Fresh off the embosser, the film looks almost blank. It needs something to reflect light. In most cases that’s an ultra-thin layer of aluminium, deposited inside a vacuum chamber. Want a see-through hologram, say over a printed expiry date or a photo? Then a high refractive index (HRI) coating is used instead.
Step 6: Print and add security layers
This is the step where the sticker starts to feel like your brand. Colours, batch details and unique serial numbers get printed on. Plenty of brands go further, adding a QR code that links to an authentication page, or a void layer that leaves a “VOID” or “OPENED” message behind if anyone peels it.
Step 7: Apply adhesive and liner
Adhesive sounds boring. It isn’t. The glue has to suit the surface, and it decides what happens when someone tries to pull the label off. On a tamper-evident sticker, the adhesive holds tighter than the hologram’s own layers, so the label tears instead of lifting clean. A release liner then covers the adhesive until the label is applied on the line.
Step 8: Die-cut, inspect and pack
Finally, the roll is die-cut into shape and the leftover film around each label is stripped away. Serious plants run camera inspection here to catch weak embossing, missing print and numbering slips. And the rejected labels or old shims? They should be destroyed under supervision. A stolen roll is basically a free gift to counterfeiters.
Can You Make a Real Hologram Sticker at Home?
Short answer: no, not a real one. You can pick up holographic sticker paper, run it through an inkjet printer and cut out shapes with a Cricut or a pair of scissors. It’ll look nice, and for a hobby project that’s all you need.
But origination, shim making and embossing aren’t desk jobs. They need precision optics, electroforming tanks and industrial embossers. That’s the whole point, really. If you can make it at home, so can the person faking your product, with the exact same sheet of paper.
Mistakes That Quietly Weaken a Hologram Sticker
When a hologram fails, the technology is rarely the problem. It’s usually a choice made at the ordering stage, one that looked harmless on the proof:
- Picking a stock hologram pattern that any supplier can sell to anyone else.
- Cramming has so many effects that buyers and retailers don’t know what to look for.
- Using an adhesive that lets the label peel off whole, ready to be stuck on a fake.
- Leaving out serial numbers, so a leaked batch can’t be traced back.
- Never telling customers what the genuine label should look like.
That last one comes up more than any other. A hologram only protects you if somebody actually checks it. Add one line on the pack, or a QR code that confirms the product is real, and every buyer turns into your inspector.
Choosing the Right Hologram Manufacturer
Think of the master and shims as the keys to your house. Who holds them matters just as much as how good the sticker looks. So before you sign with a supplier, ask:
- Where will our master and shims be kept, and who can get to them?
- What happens to spare stock and production waste?
- Can every sticker carry its own traceable serial number?
- Which security certifications does the plant have?
On certifications, ISO 14298 is the global standard for security printing. In India, it also helps if the plant holds a hologram security management certification and is a member of the Authentication Solution Providers’ Association (ASPA).
At Canpac Veritech, we originate, emboss and finish holograms at our HSSMS-certified plant in Greater Noida, and we’ve been in brand protection for over 30 years. You now know how to make a hologram sticker the right way, so the next step is a brief build around your product. Take a look at our full anti counterfeit solution range, or talk to our team about a custom hologram for your brand.
Frequently Asked Questions
What material is used to make hologram stickers?
Usually PET or BOPP film. It’s embossed, coated with a thin layer of aluminium and backed with pressure-sensitive adhesive. You’ll also find paper-based and clear HRI versions.
Can a hologram sticker be copied?
A good security hologram is very hard to copy, since printers and scanners can’t recreate its light-bending structure. The risk goes up when a brand uses a stock design, or when the supplier is careless with shims.
What is the difference between a 2D/3D and a dot-matrix hologram?
A 2D/3D hologram has visible depth, with parts of the artwork sitting at different distances. A dot-matrix hologram is built by a computer from thousands of tiny grating dots, which makes it great for crisp movement effects and fine detail.
Are hologram stickers tamper-proof?
Only if they’re designed to be. Tamper-evident versions use a void layer or a destructible adhesive, so anyone trying to remove them leaves obvious damage behind.